How-to
How to Needle Felt: The Basic Technique Step by Step
Published Updated
As an Amazon Associate we earn from qualifying purchases. This does not change our picks. Affiliate disclosure
New to Prime? Try Prime free for fast, free shipping on eligible items.
Short answer
To needle felt, roll wool tightly, hold it on a felting pad and stab it with a barbed felting needle, straight in and straight out, turning the piece as you go. The barbs tangle the fibers until the wool is firm. Build the shape with a size 36 or 38 needle, add color in thin layers with a 38 or 40, and finish with shallow stabs from a 40 or 42.
Gear for this job
All 7 picks comparedDesert Breeze German needles, 36/38/40, 15 pieces
See price on AmazonSee it on AmazonGroz-Beckert sample set, 36/38/40, 6 needles
See price on AmazonSee it on AmazonYizzvb 80 needles, 36/38/40/42, 20 per size
See price on AmazonSee it on Amazon
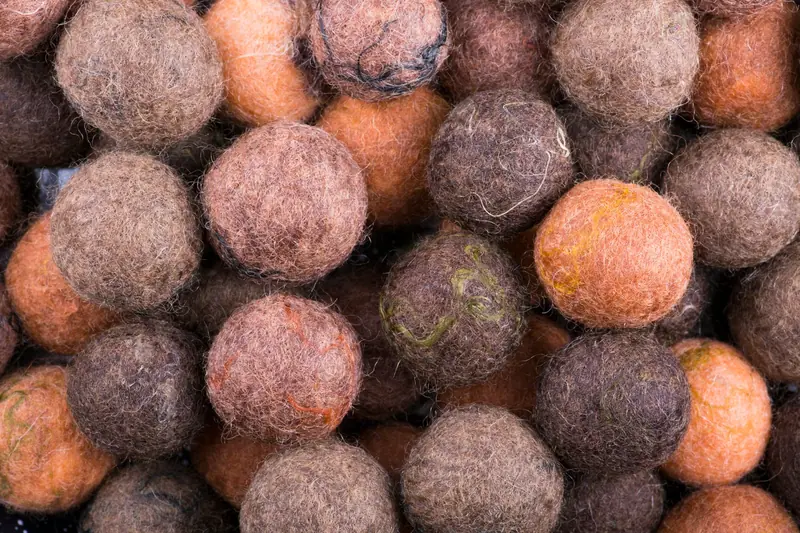
Needle felting, also called dry felting, has one stroke and three stages. The stroke is the same on a ball, a bird or a flat picture, and most beginner trouble comes from getting it slightly wrong: a bent needle, one spot stabbed too long, wool added in lumps. This page covers the technique itself, from the first stab to joining parts, and points to the stage pages, the needle size chart and the fix pages for the detail. A first ball takes a beginner about 20 to 40 minutes.
How does needle felting work?
Wool fibers are covered in tiny scales. A felting needle has small barbs cut into its working end. On the way in, each barb catches a few fibers and pushes them into the mass, where they tangle and lock with their neighbors. Stab after stab, loose wool turns into firm felt. A sewing needle is smooth, has no barbs and does not felt. Wool marked superwash has had its scales removed or coated, so it will not felt either.
Wet felting reaches the same result another way: hot soapy water and rubbing tangle a whole layer of wool at once. It suits flat fabric, bowls, slippers and scarves. Needle felting is dry, slower and precise, which makes it the method for small sculpted figures and for designs added to fabric. The wet felting pages cover the other craft.
How to start needle felting: what goes on the table
A first setup is short: felting needles in two or three sizes, a pad, core wool for the inside and a little colored wool for the outside. Suppliers most often suggest a size 38 star as the all-rounder, a size 40 triangle for finishing and a size 36 for core work. The higher the size (gauge), the finer the needle. Never felt on a table or on your lap. The pad, commonly a foam pad 1.5 to 2 in thick or a wool mat, takes the needle tip after it has passed through the wool.
How to use a felting needle: grip, angle and depth
Hold the needle near the top between thumb and first two fingers, or fit it into a holder if a bare needle is hard to grip. The other hand holds the wool on the pad, fingers to the side of the needle's path and behind the tip. Then stab: the needle goes straight in and straight out along the same line. You can enter the wool from any direction, but the angle must not change while the needle is inside. Sideways pressure, prying and twisting snap it.
Depth depends on the job. To build a core, stab deep enough for the barbs to reach the middle of the piece, because fibers lock only where the barbs travel. To work a surface, use shallow stabs that stop just under it. Short, controlled stabs beat fast, hard ones. If the needle becomes hard to push in, the felt is dense: do not force it, change to a finer size.
Note.Felting needles are barbed and very sharp. Watch the needle, keep fingers out of its path and use finger guards. Guards reduce needle sticks, they do not prevent them. Children felt only with adult supervision.
Needle felting instructions: a first shape in 6 steps
These steps make a plain firm core, such as an oval body, from core wool or carded batting. The same sequence sits under every sculpted piece. The ball page linked below takes the first practice shape further: keeping it round and hiding the fold line.
- 1
Pull a strip of core wool off the batt by hand, about as much as fills your palm loosely. Loose wool felts down to a fraction of its size.
- 2
Roll the strip up as tightly as you can, tucking the sides in as you go. Tight rolling saves a lot of stabbing. A loose roll leaves a soft center that is hard to fix from the outside.
- 3
Hold the loose end down and stab along it with a size 36 or 38 needle, straight in and straight out, until it stays shut when you let go.
- 4
Stab deep, toward the center, and turn the piece a little after every few stabs so it firms up evenly from all sides. Most of the 20 to 40 minutes a first ball takes goes into this step.
- 5
Add wool where the shape needs it: lay a thin layer over the spot, tack it with a few stabs and felt it in before adding the next. Several thin layers felt in more evenly than one thick pad.
- 6
Squeeze the piece. When it is firm and holds its shape, the core is done. Go over it once with a size 38 and shallower stabs to even the surface before any color goes on.
The three stages and the needle size for each
Every sculpted piece moves through the same three stages, and the needle gets finer at each one. Coarse needles move a lot of wool and leave holes. Fine needles tidy the surface. The stage pages go into each in depth, from core shape to surface finish.
| Stage | What you do | Needle size | Done when |
|---|---|---|---|
| 1. Core shape | Roll core wool tight, stab and turn, add thin layers | 36 or 38 | Firm, holds its shape when squeezed |
| 2. Detail and color | Join parts, lay thin colored layers, add small features | 36 to join, 38 or 40 for color, 40 or 42 for small features | Color covers evenly, parts stay put under a gentle tug |
| 3. Surface finish | Shallow stabs all over, trim stray fibers | 40 or 42 | No needle holes, no halo of loose fibers |
How to add wool and join parts
Wool goes on in thin layers at every stage. Tease a wisp out until you can nearly see through it, lay it where it is needed, tack it down with a few stabs, then felt it in. Color works the same way: a thin layer covers better than a thick one, which sits on the surface and stays fuzzy. Use a size 38 or 40 for color, because a coarse needle leaves holes in the new surface.
To join a head, leg or ear, plan ahead: felt the part firm but leave its joining end loose and fluffy. Hold that end against the body and stab through the loose fibers into the body with a coarse needle, size 36, from several directions. Then cover the seam with a thin wisp and tidy it with a size 38 or 40. A part felted firm all over has no fibers left to join with.
How to tell when a piece is done
A core is done when it is firm to the touch and holds its shape when squeezed, with no soft center. A finished surface is even, with no needle holes and no halo of loose fibers when held against the light. Beginners tend to stop too early: allow about 20 to 40 minutes for a ball and 2 to 4 hours for a small animal. The joining ends of separate parts are the exception. They stay loose on purpose until the part is attached.
Needle felting tips for when it goes wrong
Four problems account for most beginner trouble. Each has its own page with the causes in order of likelihood, so only the first thing to check is given here.
- Fuzzy surface: usually a soft core, color laid on thick or a coarse needle used to the end. See how to get a smooth finish.
- Lumps, dents and holes: they come from stabbing one spot, loose rolling or uneven layers. See why needle felting is lumpy.
- Wool that stays loose: check the fiber first, since superwash wool and acrylic do not felt firm. See why wool is not felting.
- Needles that keep breaking: nearly always bending, prying, a changed angle mid-stab or a fine needle on core work. The page linked below lists every cause.
Caring for finished pieces
Once a figure or ornament is finished, it will collect dust like any other shelf item, and rough cleaning can leave the surface fuzzy or distort the shape. Wool felt is sensitive to rubbing, heat and soaking, and pieces with wire, glass eyes or glue need extra care. A soft brush and spot cleaning with cool water are usually gentler than washing the whole piece. The details for different kinds of felt, plus stains, pills and storage, are in how to clean felt.
Quick answers
Short answers to what beginners ask before the first stab. Each one is covered in more depth in the sections above this one.
- How does needle felting work? Barbs on the needle push wool fibers into the mass, where they tangle and lock. Repeated stabs turn loose wool into firm felt.
- How to use a felting needle without breaking it? Stab straight in and straight out along one line. Never bend, pry or change the angle while the needle is in the wool.
- How to start needle felting as a beginner? With a size 38 star needle, a size 40 triangle, a pad and core wool. Make a ball first: it teaches rolling, turning and firmness.
- What needle felting tips matter most? Roll tight, turn the piece constantly, add wool in thin layers and move to a finer needle as the piece firms up.
What you need for this
- See price on AmazonAmazon
Desert Breeze German needles, 36/38/40, 15 pieces
- See price on AmazonAmazon
IMZAY tool kit, 90 needles and 8 x 10 in wool mat
From Best Needle Felting Starter Kits: What Is Actually in the Box
- See price on AmazonAmazon
Desert Breeze Corriedale core wool, 8 oz
From Best Core Wool for Needle Felting: What to Buy and How Much
- See price on AmazonAmazon
Mybecca Needle Felting Foam Pad, 12x12x2 in
From Best Needle Felting Foam Pads: Density, Thickness and Size