How-to
How to Needle Felt a Ball That Is Round, Firm and Smooth
Published Updated
As an Amazon Associate we earn from qualifying purchases. This does not change our picks. Affiliate disclosure
New to Prime? Try Prime free for fast, free shipping on eligible items.
Short answer
To needle felt a ball, roll a strip of core wool or carded batting as tightly as you can, pin the loose end with a size 36 or 38 needle, then stab toward the center while turning the ball after every few stabs. Cover the fold line with a thin wisp of wool and finish with shallow stabs from a size 40. A beginner needs about 20 to 40 minutes for one ball.
Gear for this job
All 7 picks comparedDesert Breeze Corriedale core wool, 8 oz
See price on AmazonSee it on AmazonRevolution Fibers Corriedale roving, undyed, 1 lb
See price on AmazonSee it on AmazonWoolbuddy Corriedale core wool, white, 1 lb
See price on AmazonSee it on Amazon
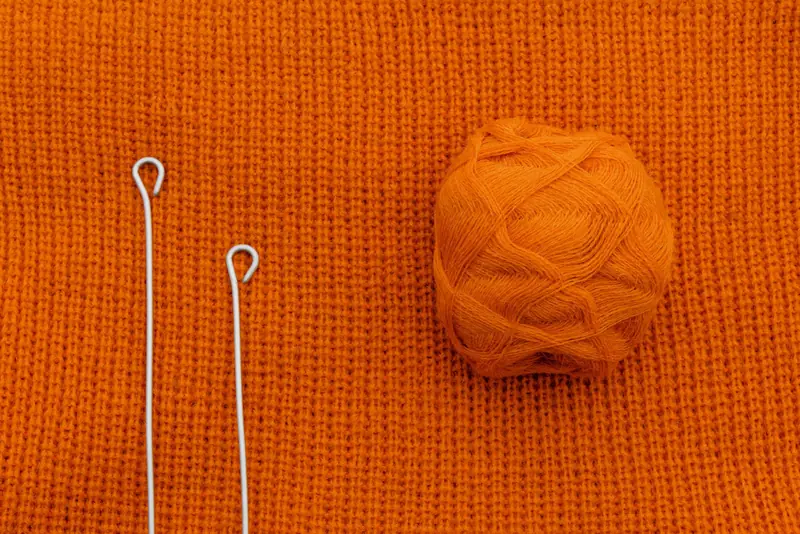
The ball is the first shape most people make, and it goes wrong in three predictable ways: flat spots, a fold line that stays visible and a center that stays soft. All three are decided early, by how tightly the wool is rolled and how often the ball is turned. This page gives the steps with the needle size for each, the checks that tell you the ball is finished, a way to make several balls the same size, and the wet felted method for comparison.
Felting wool balls: which wool and which needle
Carded wool makes the easiest ball. Core wool and carded batting have short fibers lying in all directions, so they lock fast and round off evenly. Combed top, which US stores often label roving, also works, but its long parallel fibers felt more slowly and can leave lines along the wrap. A common build is a core wool ball with a thin layer of colored wool over it. Wool marked superwash will not felt.
Two needles are enough: a size 36 or 38 to build the ball and a size 40 to finish it. A star needle felts faster than a triangle of the same size. The needle size chart lists every size by job. Work on a foam pad or wool mat, never on the table. If the stab itself is new to you, read how to needle felt first.
How to needle felt a ball, step by step
The steps make one firm ball from a single strip of wool. Loose wool felts down a great deal, so the starting roll should be clearly larger than the ball you want. No weight per ball size is given, because none could be verified: it changes with the wool and with how firmly you felt.
- 1
Pull a long strip of core wool or batting off by hand. Tie a loose knot in the middle of the strip, or fold one end over twice, to give the ball a dense center to wrap around.
- 2
Roll the strip around that center as tightly as you can. Turn the roll a little on every wrap and tuck the sides in, so it builds a ball and not a cylinder. Tight rolling is what prevents a soft center.
- 3
Hold the tail end down against the ball and stab along it with a size 36 or 38 needle, straight in and straight out, until it stays shut when you let go.
- 4
Stab deep, toward the center, a few stabs at a time, then turn the ball a little and repeat. Keep changing the direction you turn it. This step takes most of the 20 to 40 minutes.
- 5
Every few minutes, roll the ball between your palms for a few seconds. High spots and flat spots show at once. Work the high spots down from all sides and leave the flat spots alone.
- 6
If the ball is too small or has a dip, lay a thin wisp of wool over the place, tack it with a few stabs and felt it in. Build up in several thin layers, not one thick pad.
- 7
Hide the fold line: tease out a wisp thin enough to see through, lay it across the seam and felt it in with a size 38 or 40 until its edges disappear into the surface.
- 8
When the ball is firm, change to a size 40 needle and go over the whole surface with shallow stabs. They tuck in loose fibers and close the holes left by the coarser needle. Trim what is left with small scissors.
Flat spots, a fold line or a soft center: what went wrong
Each of the classic faults traces back to one habit. Fix them while the ball is still bare core wool, because they are harder to reach under a colored layer. Dents and holes on other shapes are covered in why needle felting is lumpy.
| What you see | Cause | What to do |
|---|---|---|
| Flat spots or facets | Too many stabs in one place before turning | Turn after every few stabs. Work down the ridges around the spot, or fill it with a thin wisp |
| A visible fold line | The tail end was pinned down but never covered | Lay a thin wisp across the seam and felt it in |
| Soft center under a firm skin | Loose rolling, or shallow stabs only | Stab deep toward the center with a size 36 or 38. Roll tighter next time |
| Egg or cylinder shape | Wool wrapped in one direction only | Stab into the two long ends to shorten it, then add thin wisps around the middle |
How to tell the ball is done
Squeeze it between thumb and fingers. A finished ball is firm to the touch and holds its shape, with no soft give in the middle. Rolled across the table, it keeps going and does not settle on a flat side. The surface is even, the fold line is gone and no halo of loose fibers shows against the light. A ball that will become a head or a body can stop once it is firm, since color and finishing come later. How firm needle felting should be gives the test for other parts.
Note.Stop when the needle becomes hard to push in. The felt is dense enough, and forcing a needle through dense felt is one of the standard ways to break it.
How to make several felt balls the same size
Judging loose wool by eye does not work, because fluff hides how much fiber is there. Use a kitchen scale. Weigh the wool for the first ball before you roll it, write the weight down and weigh out the same amount for each of the others. Balls for a garland or a mobile then match, as long as the wool is the same and each ball is felted to the same firmness.
Make one test ball first. If it comes out smaller than you wanted, raise the weight for the whole batch, and if you add wool along the way, weigh that too. No table of grams per ball size is given here: the figure shifts with the wool and with how hard you felt, so your own first ball is the reliable measure.
Needle felted or wet felted: two ways to make felt balls
Felt balls for garlands are often wet felted. A loose ball of wool is wetted with hot soapy water and rolled between the palms, lightly at first so it does not crease, then harder as it firms up. It is rinsed and left to air dry. No needle is involved. The wet felting pages cover soap, water and drying.
| Point | Needle felted ball | Wet felted ball |
|---|---|---|
| Tools | Felting needle and pad | Hot water, soap and your hands |
| Usual wool | Core wool or carded batting | Merino top, the usual wet felting wool |
| Good for | One ball, or a ball that becomes a head or body | Batches of beads and garland balls |
| Shape control | High: wool can be added and the shape changed | Round shapes only |
| After felting | Ready at once | Rinse, then air dry |
| Typical fault | Flat spots, visible fold line | Creases or cracks from pressing hard too early |
Projects to try once your ball is firm
A firm, even ball is the base of many first projects, so it is worth getting right before you move on. Once yours holds its shape when squeezed, a mushroom is a natural next step: a ball or disc becomes the cap, and a rolled strip of wool becomes the stem. The steps for the cap, the stem and the joint between them are in how to needle felt a mushroom. If you would like something to hang, small balls also make simple tree decorations, and needle felted Christmas ornaments covers sizes, weight and how to anchor a hanging loop inside the wool so it does not pull out.
Quick answers
Short answers on making a needle felted ball. The step list above has the needle size and the order of work for each stage.
- Needle felting: how to make a ball that stays round? Turn it after every few stabs and roll it between your palms to find high spots. Flat spots come from stabbing one place.
- How to make felt balls from wool roving? Roll the roving very tightly and expect it to take longer than carded wool. Cover any lines with a thin wisp laid across them.
- How long does it take to needle felt a ball? About 20 to 40 minutes for a beginner. Most of it is the deep stabbing that firms up the center.
- Which needle is best for felting wool balls? A size 36 or 38, star or triangle, to build the ball. Then a size 40 with shallow stabs to finish the surface.
What you need for this
- See price on AmazonAmazon
Desert Breeze Corriedale core wool, 8 oz
From Best Core Wool for Needle Felting: What to Buy and How Much
- See price on AmazonAmazon
Desert Breeze German needles, 36/38/40, 15 pieces
- See price on AmazonAmazon
The Felt Box carded batts, bright shades, 100 g
- See price on AmazonAmazon
Mybecca Needle Felting Foam Pad, 12x12x2 in
From Best Needle Felting Foam Pads: Density, Thickness and Size